商品详情
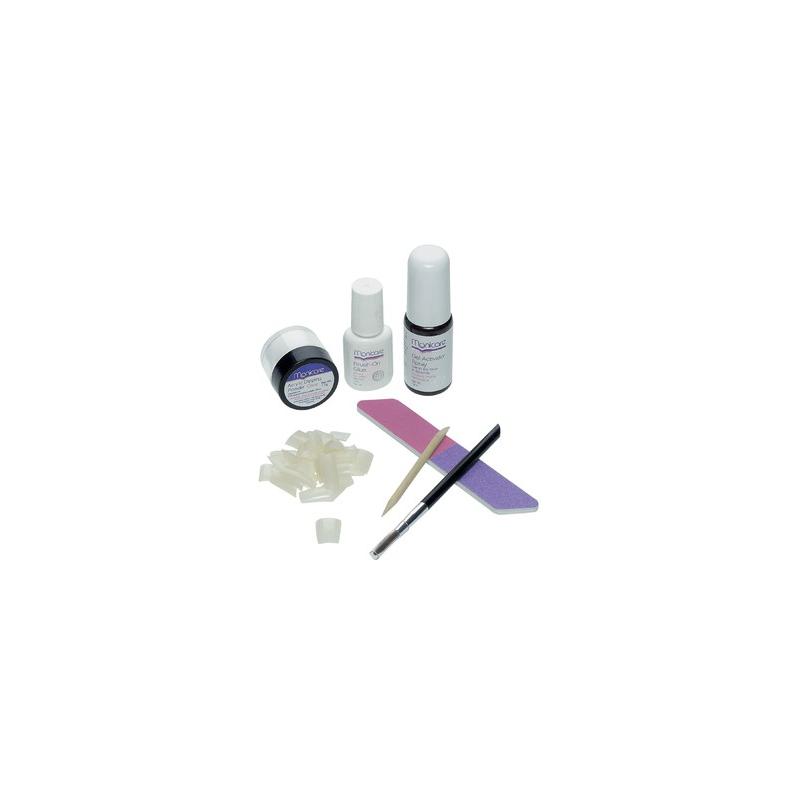
Includes all that you need to create sculptured acrylic nails Pack of 40.Assorted sizes.Petite length nail tips.Step-by-step instructions inside pack.Reusable storage box.Kit includes: nail primer 7.4ml, acrylic powder 5g, acrylic liquid 14.7ml, nail glue 3g, 4 sided buffer, cuticle stick, acrylic brush, 40 artificial nail tips: 5 assorted sizes nail tipsStep 1 – Preparing Your Nails Remove all nail enamel with Nail Polish Remover. Trim and shape nails evenly. Use a cuticle stick to gently push back cuticles. Gently buff to shine natural nail surface. Step 2 – Correct Tip Size Choose an artificial nail tip to fit each nail. The sides of the tip should be in line with the sides of your natural nail. If you cannot find the correct size, use a nail file or nail shaper to file the sides of the tip for a perfect fit. Step 3 – Applying Tips Apply one drop of Nail Glue to the overlap area of the artificial tip. Spread evenly. Hold the artificial tip at a 45 degree angle with the overlap area of the tip against the free edge of your natural nail. Press the artificial tip down firmly and hold in place until bonded. Use a buffer to smooth the seam line of the artificial tip.acrylic nailsIt is recommended that Acrylic Nails and Acrylic Nail Products are removed after four months. Wait one week before reapplying. Step 4 – Nail Primer Apply a small dot of Nail Primer to the exposed natural nail. Take care to avoid cuticles. Allow 30-60 seconds to dry before applying a second application. Allow a further two minutes for the second coat of Nail Primer to dry before applying acrylic. Step 5 – Acrylic Application Pour a small amount of Acrylic Liquid into a small glass container. Dip the Acrylic Brush into the Acrylic Liquid. Wipe excess liquid against the edge of the container. Dip Acrylic Brush into the Acrylic Powder and form a small ball by rotating the brush in a circular motion. When applying acrylic, divide your nail into three sections. 1- the free edge; 2- the seam line; and 3- the nail bed. Working on one section at a time, place the acrylic ball onto Section 1 of your nail and “pat” it out. Repeat Acrylic Application steps 2-5, applying an acrylic ball to each section of your nail. Gently blend all three sections as you go. Step 6 – Smoothing and Finishing Using the black side of the 4 Sided Nail Buffer, file the nail to the desired shape and length. Use the black side to level the surface of the acrylic nail. Refine the nail surface by gently buffing first with the gold then the white side of the buffer. Use the grey side to buff acrylic to a high shine for the perfect finish.
产品地址: http://dgt.playinmel.com/product/3414439/